After designing your email, you can move on to the next step of sending your survey email. In order to send out your survey email, you must first add contacts to your survey. SurveyTown’s email feature has multiple methods to import your contacts in your survey email. In a few simple steps, you can import your contacts to your survey email.
In this article, we will cover how to import your contacts into your survey email.

Getting Started
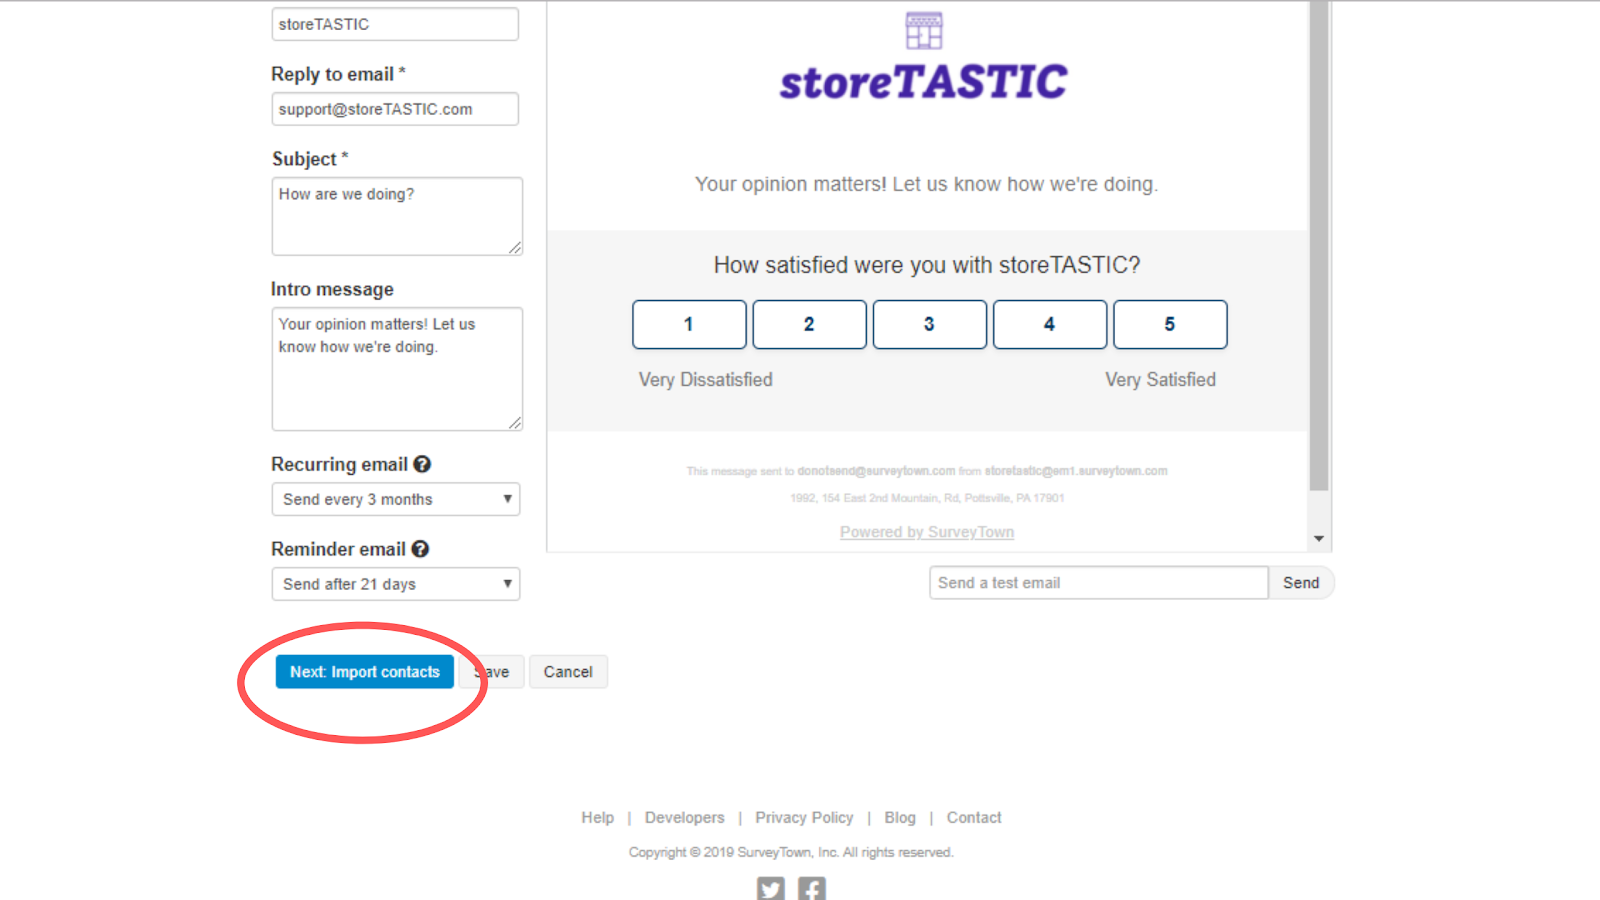
Getting started importing your contacts is simple. After customizing your survey email, you can move on to importing your contacts. You will find this step at the bottom of the design page of your email.
Contact Source
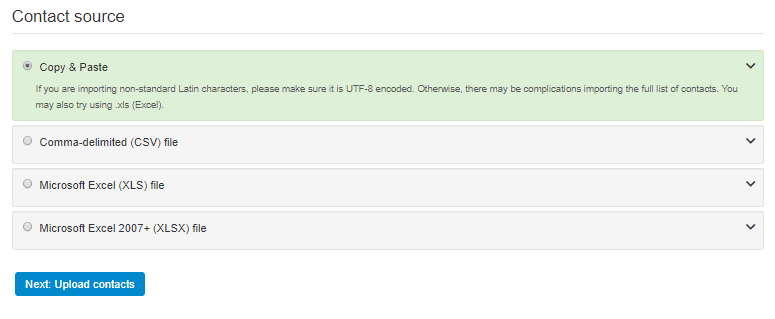
Once you have found the step to import your contacts you will be sent to the “Contact Source” page. SurveyTown allows you to add your contacts in a variety of ways. Here are the methods in which you can add your contacts:
- Copy/Paste
- Comma-delimited (CSV) file
- Microsoft Excel (XLS) file
- Microsoft Excel 2007+ (XLSX) file
On this page, select the file type you will be using to upload your contacts. Depending on which method you choose, you will be prompted to either upload a file or paste your contact list on the next page.
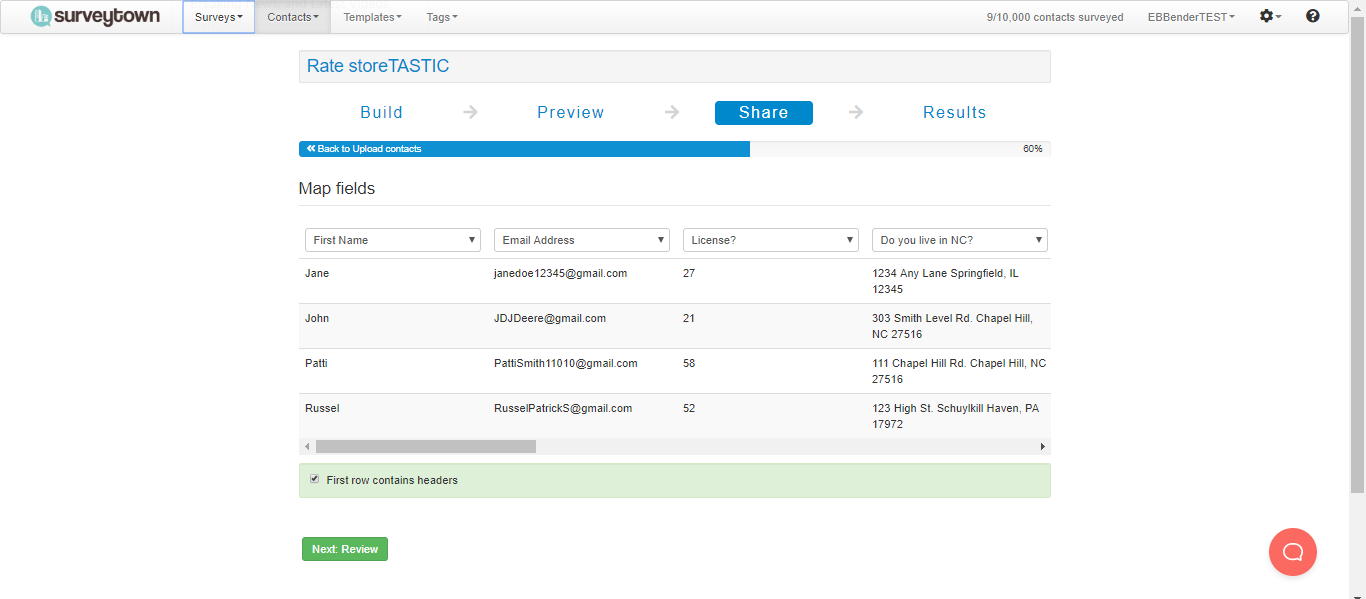
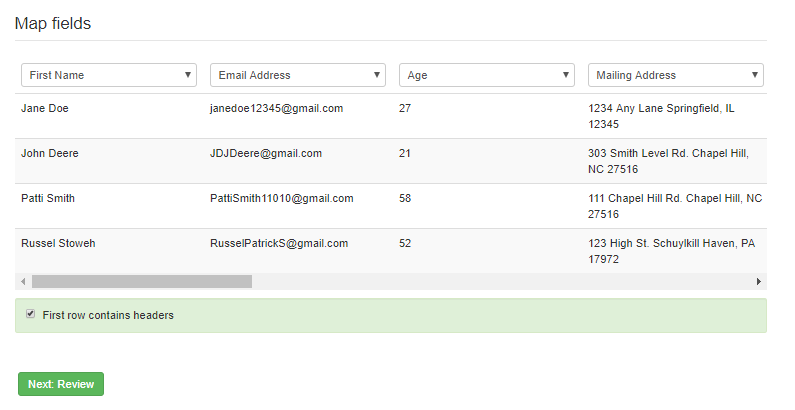
Map Your Contacts Through Custom Fields
After you have uploaded your contacts, you have the option to map your contacts data to custom fields that you have set up inside of SurveyTown. This will break down your contacts into custom fields defined by you. You can add custom fields such as name, age, email, and etc. To map your contacts data, select the custom field from the dropdown that matches the data. Any unmapped fields can be easily categorized by choosing a field in the drop-down box.
Review Your Import
After uploading and mapping your contacts, you can review your contacts before importing them and sending the email. Your contact list will be shown in the same format as was in the mapping stage, however, no further changes can be made to the categorization. In addition, you can do a final preview of your email before sending it out. You can do this by clicking on the preview link.

Import Report and Summary
When importing your contacts, how can you determine whether or not your import has worked? After importing your contacts, you will be sent an import summary detailing the success of your import. To find your import summary, first, go to the “Contacts” tab. In the drop-down menu of the “Contacts” tab, scroll down and choose “Imports”.
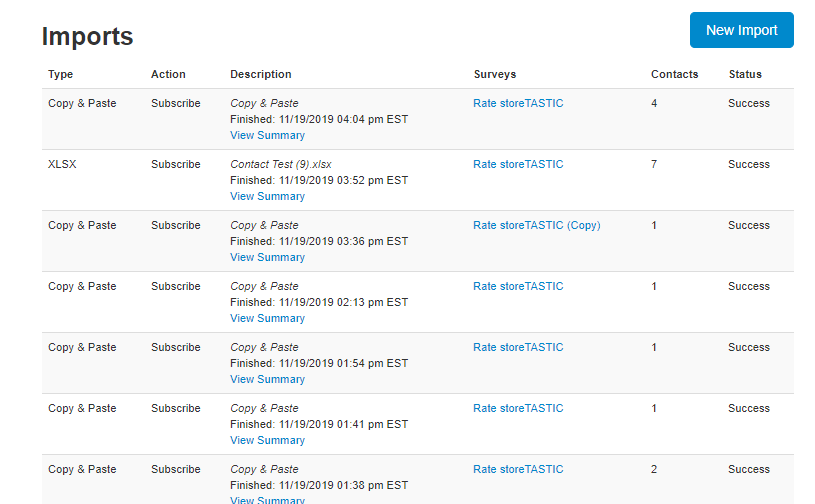
On this page your “Import Summary” will be broken down into:
- Type
- Action
- Description
- Survey
- Contacts
- Status
After importing your contacts, you will be shown a page that lists all of your imports. At the top of the page will be your latest import.
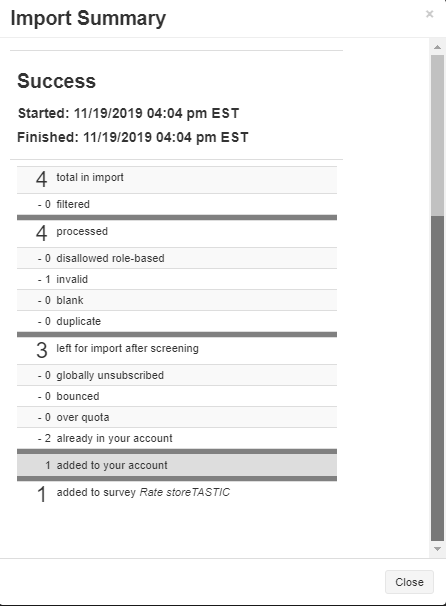
When clicking on the “Import Summary”, you will notice that the summary has been broken down into:
Status
Started
Finished
Total in Import
Processed
Left for import after screening
Added to your account
Final Thoughts
Whether you copy and paste or upload a supported file, importing your contacts to your survey email is simple. In a few easy steps, you can import, map, and review the contact list you choose to send.